Getting Started with Infura's Ethereum API
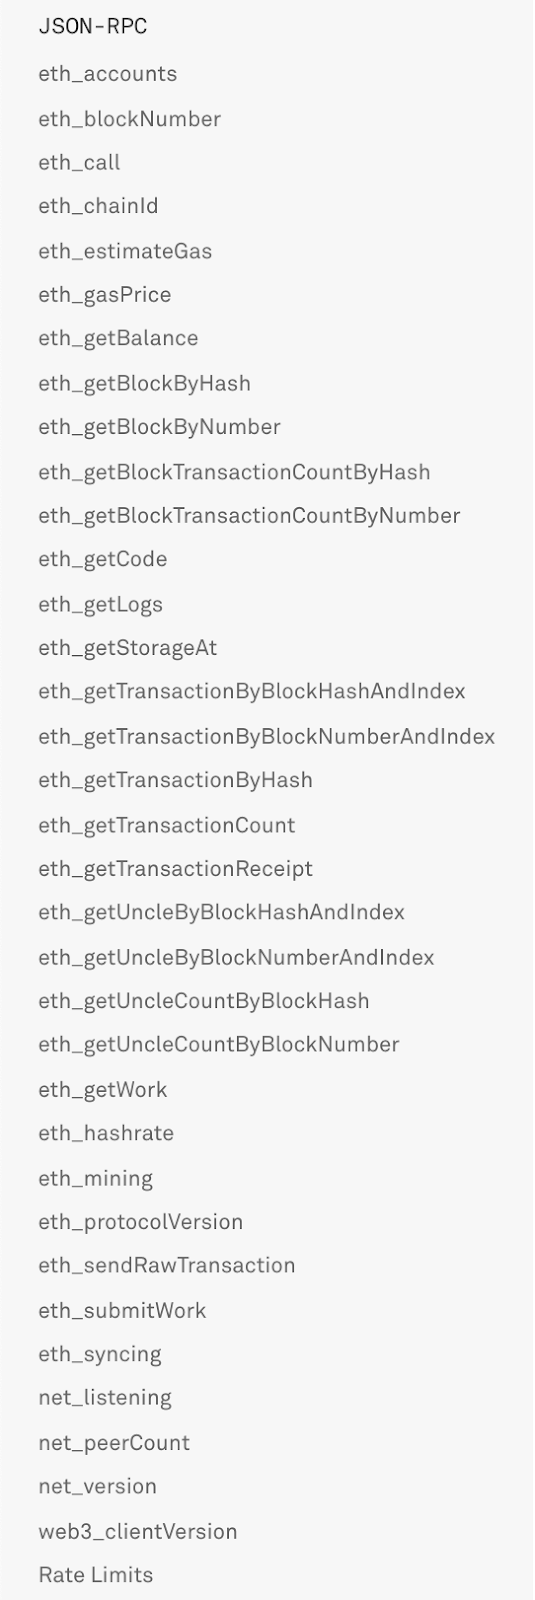
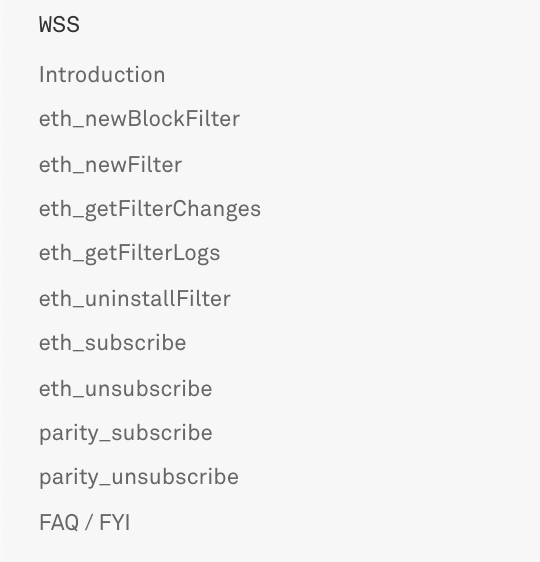
Infura supports JSON-RPC over both HTTPS & WebSocket interfaces. In this tutorial, we’ll go through why you’d use each interface, as well as how to access the Ethereum API via both methods using a Node.js example.
So, you want to access the Ethereum network using Infura’s API - how do you go about doing that? First, you’ll need to make sure you have an Infura account - check out this tutorial to get started! Next, you’ll want to determine which interface you want to use - Infura supports JSON-RPC over both HTTPS & WebSocket interfaces. In this tutorial, we’ll go through why you’d use each interface, as well as how to access the Ethereum API via both methods using a Node.js example.
HTTPS
HTTP/HTTPS is unidirectional - the client sends the request and then the server sends the response - and has no state associated with it, meaning each request gets one response and then the connection is terminated. You’ll want to use the HTTPS interface if you’re getting data that only needs to be collected once or if you’re accessing old data. You’ll see HTTPS used regularly with simple RESTful applications.
Example:
In this example, we’ll write a Node.js program that uses the Rinkeby endpoints and sends an RPC request to Infura to get the latest block data using eth_getBlockByNumber. From there, we will convert that block number from hex to integer and print the integer block number to the terminal. Ready? Let’s go!
The first part of writing this code is to install Node (if you haven’t yet; you can use npm or a download), DotEnv, and your dependencies. If you’re not familiar with dotenv, this is a separate file that doesn’t get uploaded to GitHub that ensures your Project ID and Project Secret (your environment variables) remain a secret in your code! If you’d like more information, check out this Medium article.
Now that we’ve completed our installations, we can move on to creating our app.js file and requiring dotenv and request at the top. This allows us to access the request data as well as the variables contained in your dotenv file.
const dotenv = require('dotenv').config();
var request = require('request');
Next, we take a look at the docs to see the required headers for eth_getBlockByNumber. Our headers need to contain Content-Type: application/json, so we’ll add that to our app.js file:
const dotenv = require('dotenv').config();
var request = require('request');

var headers = {
	'Content-Type': 'application/json'
};
Next, we’ll identify what data we want to send through to the server. In this case, we want to specify that we want:
1. JSON-RPC (the most recent version)
2. the method we’re calling
3. any block parameters we want to include (in this case, we’re wanting the latest block’s data, so we’ll include a param for `[“latest”,true]`)
4. the ID
You can think of this dataString as the sections of an HTML form we’re filling out before submitting them to the server.
If you want to see how to lay this out, you can take a look at the provided example from the docs using CURL commands (not exactly the params we’re looking for, but you get the idea):
'{"jsonrpc":"2.0","method":"eth_getBlockByNumber","params": ["0x5BAD55",false],"id":1}'
So, taking a look at the syntax and making sure our code is following suit, we add our var dataString to app.js:
const dotenv = require('dotenv').config();
var request = require('request');

var headers = {
	'Content-Type': 'application/json'
};

var dataString = '{"jsonrpc":"2.0","method":"eth_getBlockByNumber","params":["latest",true], "id":1}';
Now we’re getting somewhere! But where exactly are we getting the data from? That’s the next part of the process. We need to create a variable that spells out the:
1. url
2. method (i.e. POST/GET/etc.)
3. headers
4. body
5. any authorizations necessary (this is where you’d include information for your project secret).
Let’s go through what each of those entails:
- url: The URL you are using to access the API; you can find a list of all the networks with their corresponding URLs in our docs.
• Note: where the URL in the doc says “YOUR-PROJECT-ID”, this is where you’ll put your Project ID from your dotenv file
• We’re going to use Rinkeby endpoints, so we’ll use the Rinkeby HTTP URL - method: The HTTP method (not the same as the “method” in the dataString) being used - identified in the docs, specific to each JSON-RPC call being made
• Potential options: POST/GET/PUT/PATCH/DELETE
•getBlockByNumberis a POST request - headers: Whatever headers are required for the call
• We’ve already identified those in ourvar headers! - body: Whatever information we’re sending with our request
• In this case, we’ve again already done that work for ourselves by creatingvar dataString! - auth: Any authorization you may need to complete the request, if any (it’s not required)
• This is where our Project Secret goes - note that theuserfield is left blank and your Project Secret (hidden in your dotenv file) goes into thepassfield
• We aren’t requiring a Project Secret for this example, but we’ve included it as a comment for syntax’s sake:
const dotenv = require('dotenv').config();
var request = require('request');

var headers = {
	'Content-Type': 'application/json'
};

var dataString = '{"jsonrpc":"2.0","method":"eth_getBlockByNumber","params":["latest",true], "id":1}';

var options = {
	url: `https://rinkeby.infura.io/v3/${process.env.PROJECT_ID}`,
	method: 'POST',
	headers: headers,
	body: dataString,
	// auth: {
	//   'user': '',
	//   'pass': `${process.env.PROJECT_SECRET}`
	// }
};
• Note: The syntax for the template literals is very important - check out this article if you need help!
Alright, now we’re finally done with all the setup! All we have left is to actually write the function that will send the request, get the response, and get the JSON out of that response in a readable manner:
const dotenv = require('dotenv').config();
var request = require('request');

var headers = {
	'Content-Type': 'application/json'
};

var dataString = '{"jsonrpc":"2.0","method":"eth_getBlockByNumber","params":["latest",true], "id":1}';

var options = {
	url: `https://rinkeby.infura.io/v3/${process.env.PROJECT_ID}`,
	method: 'POST',
	headers: headers,
	body: dataString,
};

function callback(error, response, body) {
	if (!error && response.statusCode == 200) {
		json = response.body;
		var obj = JSON.parse(json);
		console.log(obj)
	}
}

request(options, callback);
This provides us with the full raw JSON response, which can be a lot to look at initially:
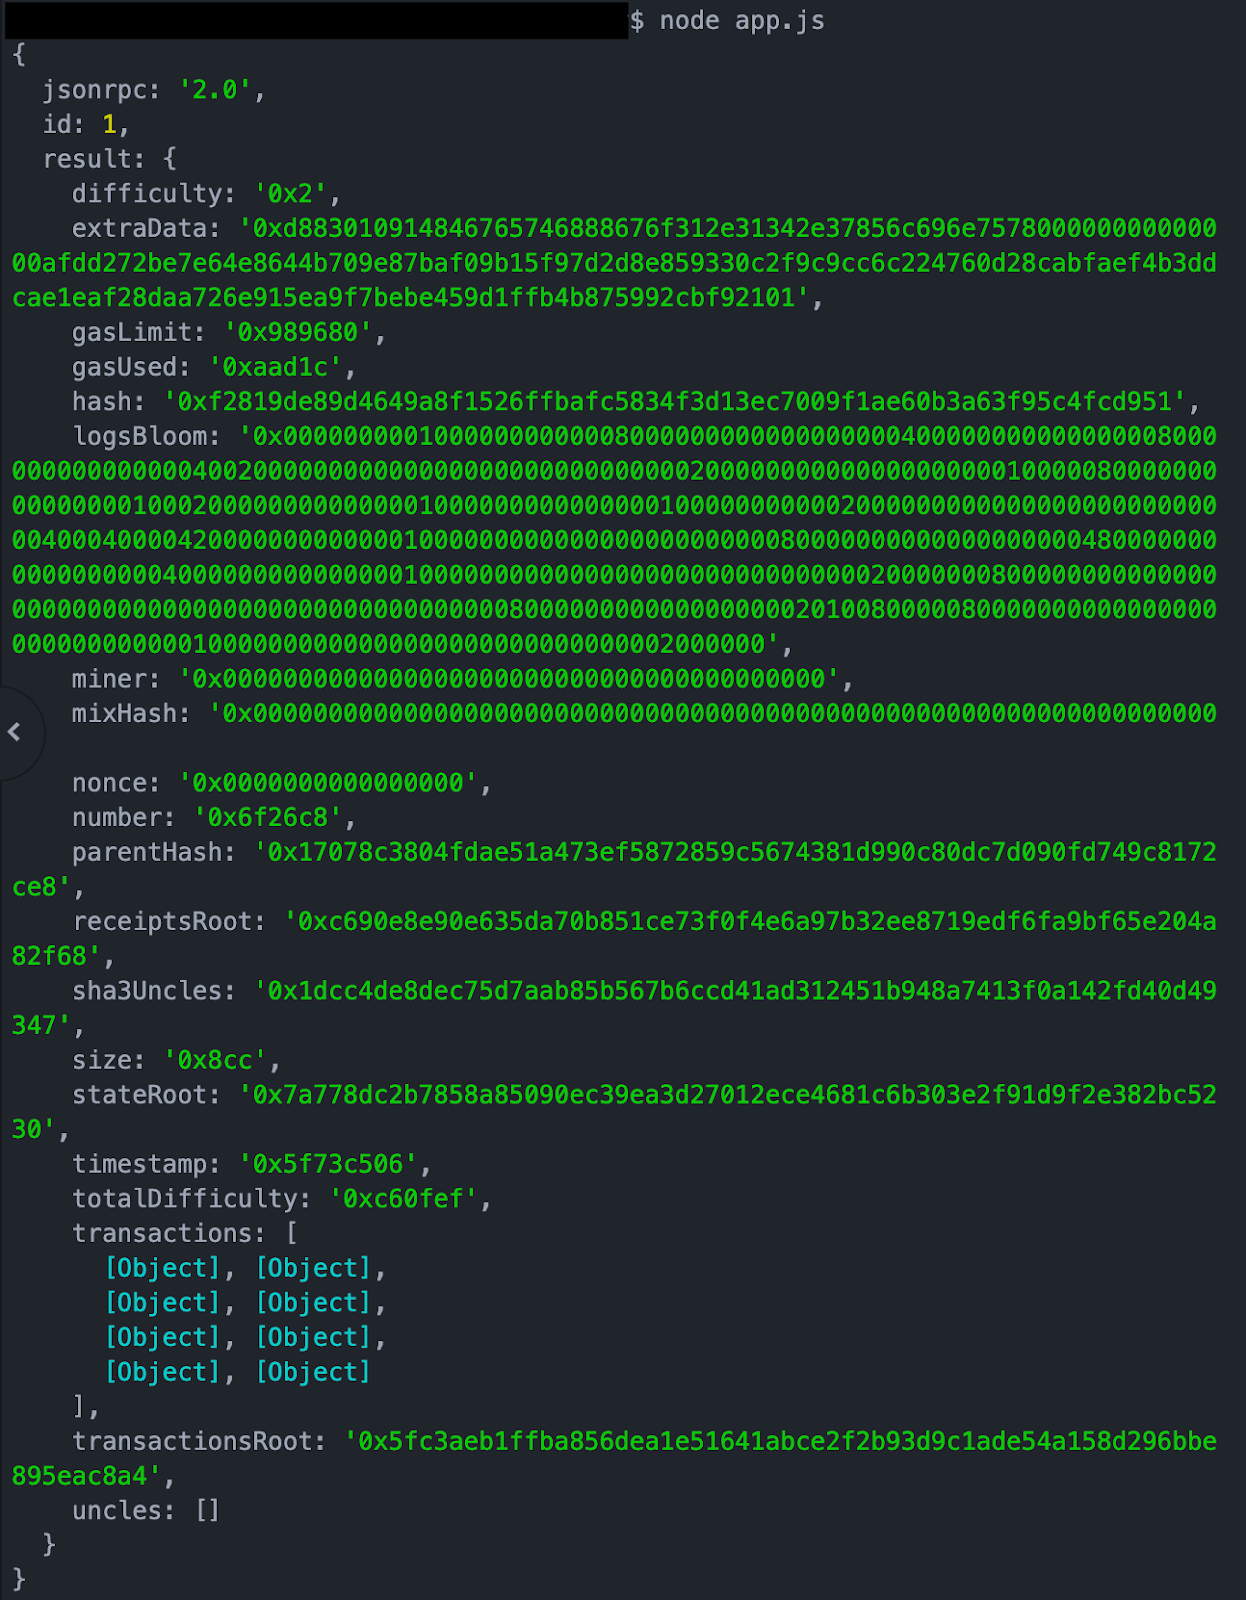
But, we know we’re looking for the most recent block number (which will be a hex for us to then turn into an integer to print out):
For this specific scenario, you could get the most recent block by using the most recent transaction and getting its block number, but that way won’t work if the block has no transactions in it! Using the following will allow you to get block information, regardless of whether it has transactions or not:
Looking at the JSON data from the previous printout, we can see that obj.result.number provides us with the hex for the most recent block:
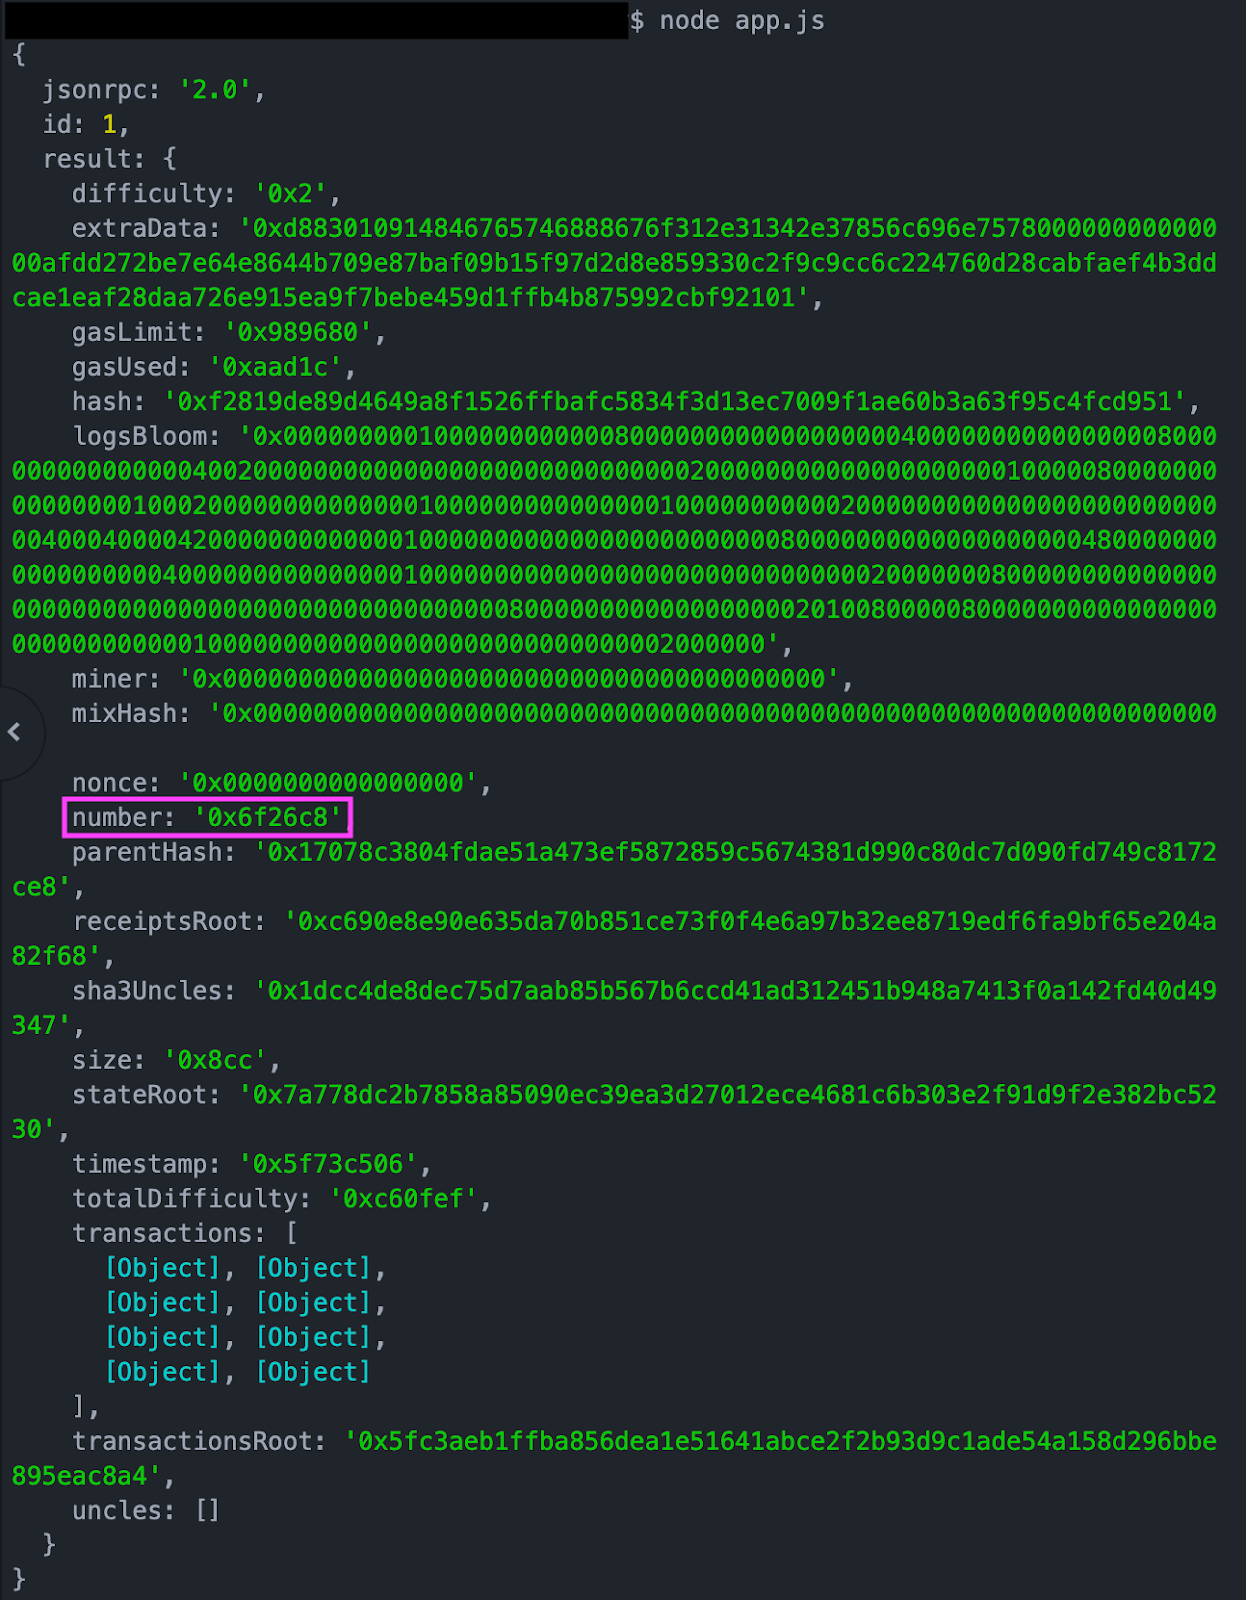
Every block also has a unique hash which is stored in the hash field, this can oftentimes be more useful for subsequent requests, but we’ll focus on just the number for now. When we console.log(obj.result.number), we get that same highlighted hex value (it’s always good to double check you’re getting what you expect to get from your code):
0x6f50f7
So we can define hex in our code as that obj.result.number in order to get access to that hex value:
const dotenv = require('dotenv').config();
var request = require('request');

var headers = {
	'Content-Type': 'application/json'
};

var dataString = '{"jsonrpc":"2.0","method":"eth_getBlockByNumber","params":["latest",true], "id":1}';

var options = {
	url: `https://rinkeby.infura.io/v3/${process.env.PROJECT_ID}`,
	method: 'POST',
	headers: headers,
	body: dataString,
};

function callback(error, response, body) {
	if (!error && response.statusCode == 200) {
		json = response.body;
		var obj = JSON.parse(json);
		hex = obj.result.number;
	}
}

request(options, callback);
Now, to the final part of the challenge: turning this hex into an integer and printing out that integer! We want to call parseInt(hex, 16) to turn our hex string into an integer, and then we’ll console log that final result. hex is the hex code we found in the previous step, and 16 signifies that hex is a hexadecimal with a radix of 16 (if you don’t specify, any string beginning with “0x” will be assumed to be a hexadecimal and therefore will have a radix of 16; otherwise the radix will be 10):
const dotenv = require('dotenv').config();
var request = require('request');

var headers = {
	'Content-Type': 'application/json'
};

var dataString = '{"jsonrpc":"2.0","method":"eth_getBlockByNumber","params":["latest",true], "id":1}';

var options = {
	url: `https://rinkeby.infura.io/v3/${process.env.PROJECT_ID}`,
	method: 'POST',
	headers: headers,
	body: dataString,
};

function callback(error, response, body) {
	if (!error && response.statusCode == 200) {
		json = response.body;
		var obj = JSON.parse(json);
		hex = obj.result.number;
		final = parseInt(hex, 16)
		console.log(final)
	}
}

request(options, callback);
When we run our code, we get:
7284488
Success! You now know how to use the Infura API to access Ethereum endpoints via HTTPS! This method is great if you’re looking for more historical data or are just needing the data once, but what if you need your data on a more rolling basis? You’ll then want to use a WebSocket connection!
WebSocket
WebSockets are bidirectional and stateful, which means the connection between the client and the server is kept alive until it is terminated by either party (client or server). Once the connection is closed, it is terminated. The best time to use a WebSocket is when you want to continuously push/transmit data to the already-open connection, for example in cryptocurrency trading platforms, gaming applications, or chat applications, where you want the data to be updated constantly in real time.
Example:
In this example, we’ll write a Node.js program that again uses the Rinkeby endpoints and uses a WebSocket connection to get the latest block header information using a newHeads subscription type over that WebSocket connection. For this one, we want to see an output of a tailing log of the latest block header data from the WebSocket connection. Let’s get to it!
To start off, we’re going to npm install and require the necessary constants - dotenv and ws (for WebSocket). This will allow us to hide our Project ID and Secret and connect to the WebSocket, respectively.
const dotenv = require('dotenv').config();
const WebSocket = require('ws');
Next, we’re going to open up our WebSocket connection by creating a new instance of WebSocket:
const dotenv = require('dotenv').config();
const WebSocket = require('ws');

const ws = new WebSocket(`wss://ropsten.infura.io/ws/v3/${process.env.PROJECT_ID}`);
Again, we are using our dotenv file to keep our Project ID secret, which is why we have the template literal here.
If you read through the HTTPS section, hopefully part of this will look familiar to you! After we have our WebSocket, we’re going to open it and send over our data once it’s open (again, think about it like we’re submitting a form to the server, telling it what we want). In this case, our method is eth_subscribe (since we’re subscribing to get the newest header) and our params are newHeads, as that’s the type of subscription we want to get our result from:
const dotenv = require('dotenv').config();
const WebSocket = require('ws');

const ws = new WebSocket(`wss://ropsten.infura.io/ws/v3/${process.env.PROJECT_ID}`);

ws.on('open', function open() {
	ws.send('{"jsonrpc":"2.0","method":"eth_subscribe","params":["newHeads"], "id":1}');
});
Now we want to be able to look at the data we’re receiving in the response, so we will assign a variable to the parsed JSON data and will console.log it to get the header data we were asked for:
const dotenv = require('dotenv').config();
const WebSocket = require('ws');

const ws = new WebSocket(`wss://ropsten.infura.io/ws/v3/${process.env.PROJECT_ID}`);
	ws.on('open', function open() {
	ws.send('{"jsonrpc":"2.0","method":"eth_subscribe","params":["newHeads"], "id":1}');
});

ws.on('message', function incoming(data) {
	var obj = JSON.parse(data);
	console.log(obj);
	ws.close()
});
Notice at the end we close our WebSocket - this is an important step when we’re trying to get just the latest block header data! Because we have closed our WebSocket connection, our response is exactly what we want (the latest block’s headers plus their data):
{ jsonrpc: '2.0', id: 1, result: '0x1' }
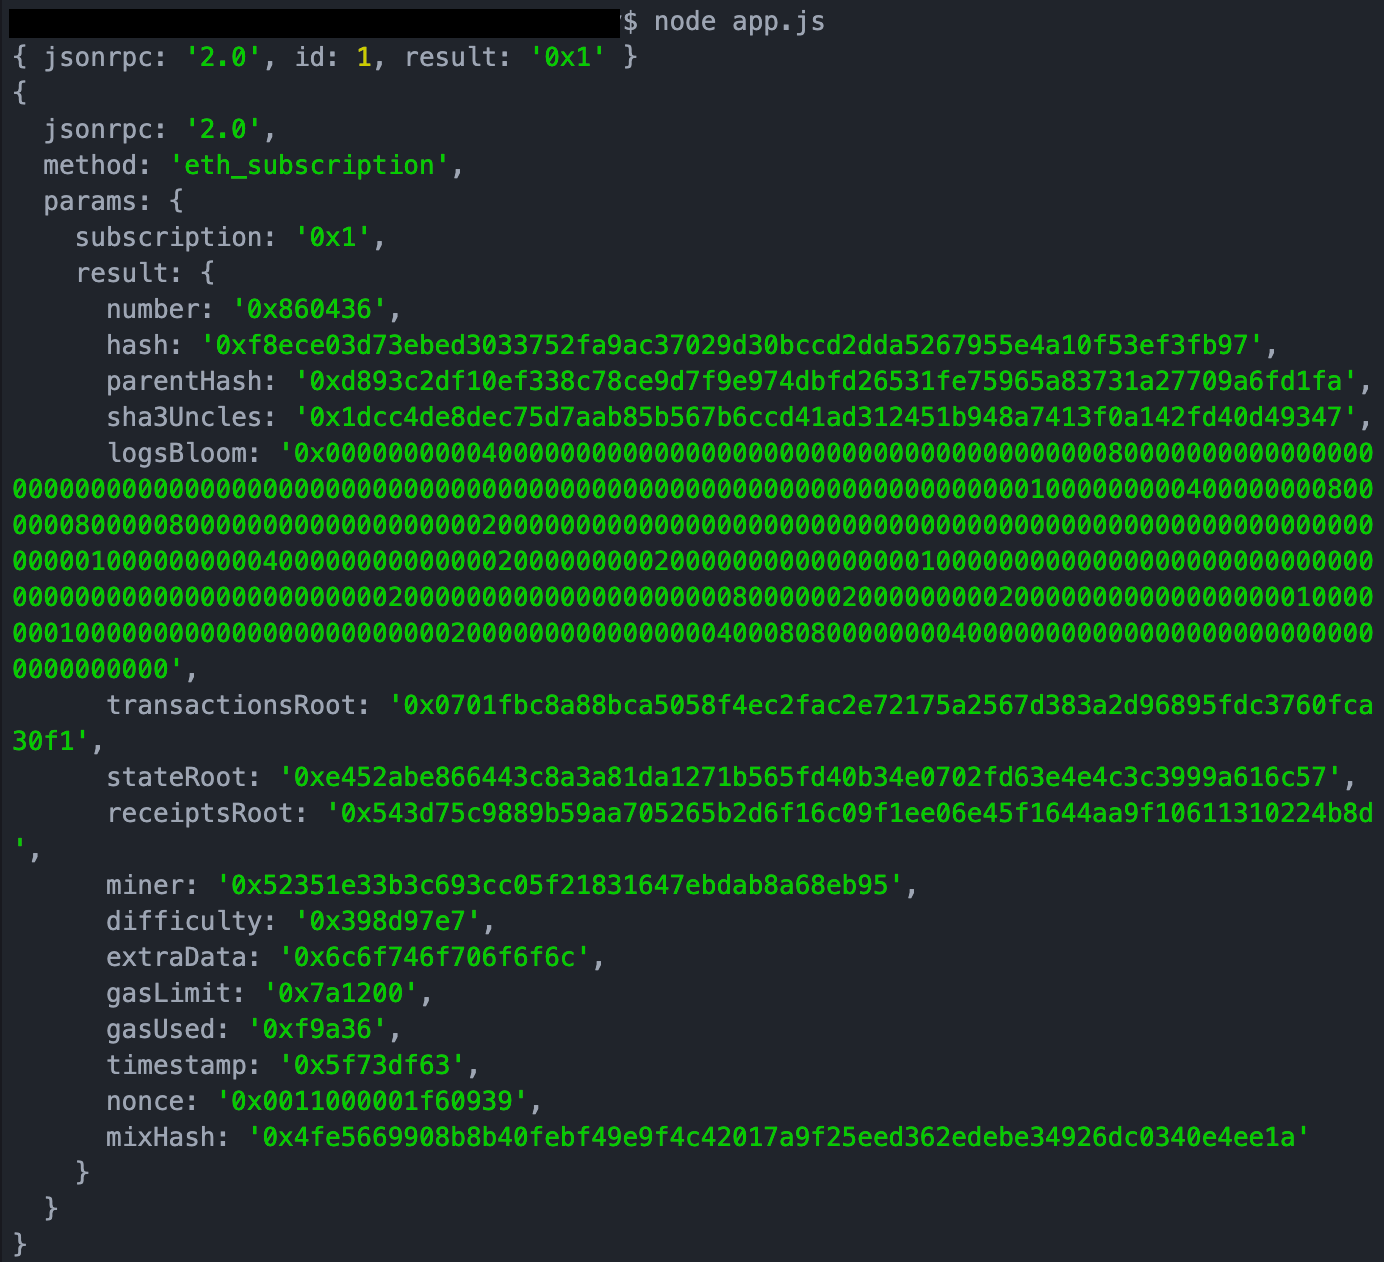
Want to know what happens if you don’t close the WebSocket connection? Of course you do! We get this printout fairly quickly, and then it just keeps updating and updating and updating and… you get the point. Here’s an example of what happens when we leave the WebSocket connection open:
That’s it! Now you know how to open a WebSocket connection, call a method with parameters, and get an output for both the latest block (and a running list of the latest block, if that’s what you’re going for).
Now go out and explore the Infura API!
Want More to Explore?
Check out all the possible requests you can make via HTTPS and WebSocket, as well as some more complex concepts like rate limiting in our docs!
Subscribe to our newsletter for more Web3 tutorials and product news. As always, if you have questions or feature requests, you can join our community or reach out to us directly.
