Tutorial: Real-time Frontend Data with Embark's Subspace and Infura
Using Infura, Subspace, and React, we’ll show how to track a deployed contract’s transactions, and display and update those numbers in the frontend.

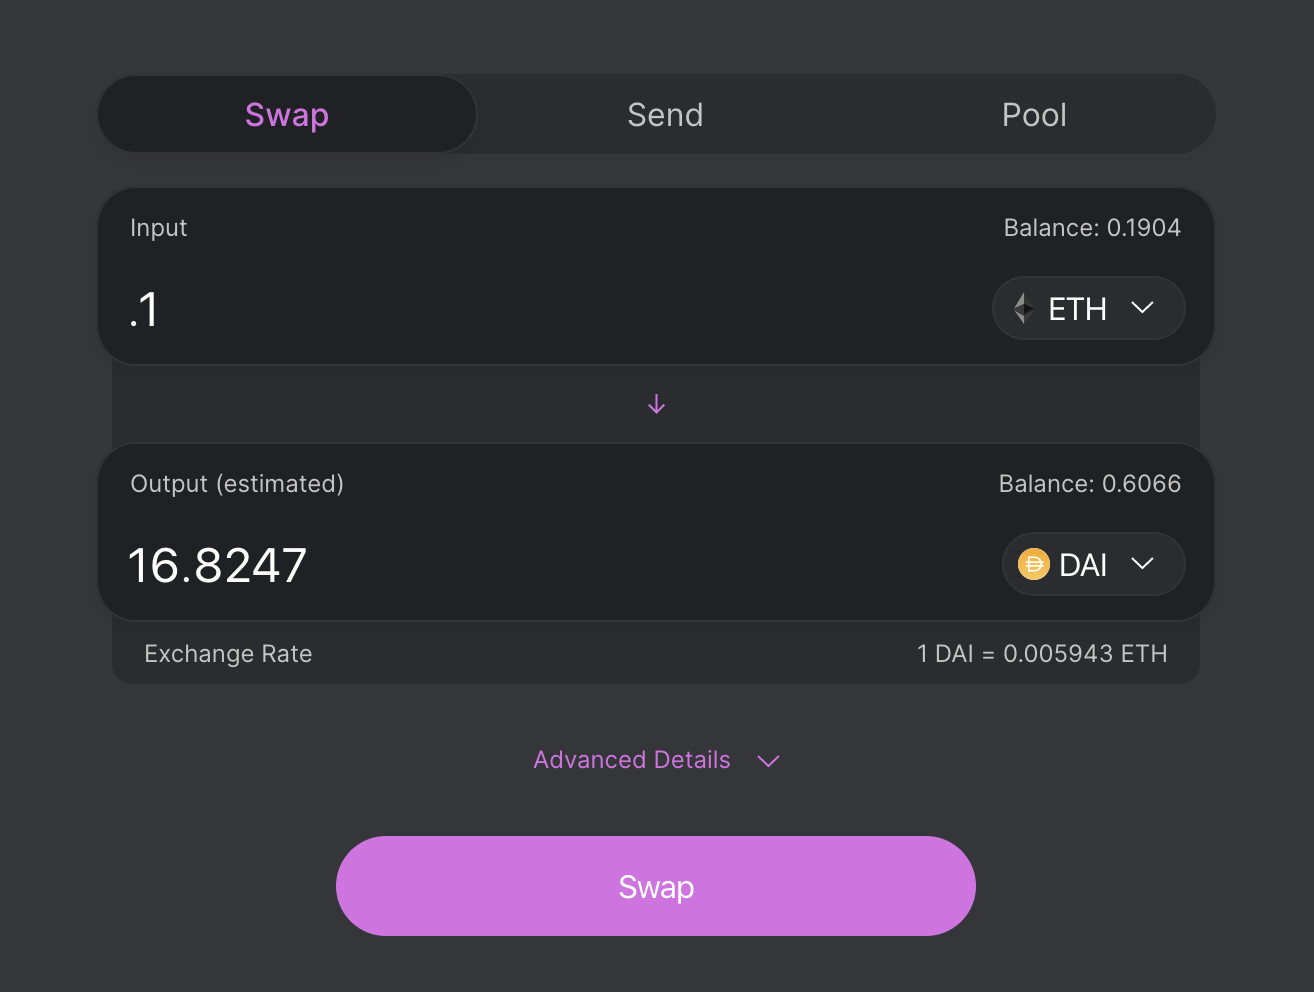
In the previous post on frontend development, we ended with a website that allowed a user to connect via MetaMask and it displayed their account balance of Ether. Yet many Ethereum use-cases such as DeFi involve sending and receiving ERC20 tokens, which are tracked differently than native Ether. In this guide, we’ll show how to track a deployed contract’s transactions, and display and update those numbers in the frontend as they can potentially update in each new confirmed block. For this example, let’s track the Dai<>Eth trades on Uniswap.

To do this, we’ll use a library called Subspace from the Embark team at Status. Our preferred way to track real-time data is using React Hooks, so we’ll walk through setting up a frontend with Ethereum data streaming by working through Embark’s example code found here. So in total this frontend uses Infura, React (with helper libraries), and Subspace.
- This tutorial is a separate website from the prior frontend tutorial. We’ll go through the important pieces of code but not all of it, so it’s recommended to clone the example repository and then run
npm installandnpm startin the root directory (or alternatively use yarn) which will get your website up on localhost:3000 . From there, we’ll see how adding more data tracking is easy with Hooks anduseEffect().
There’s only 3 important files to go over. To start, look in the short file of src/index.js, in it we have <SubspaceProvider> wrapping the entire App, which gives every component access to the web3 object, which is our connection to Ethereum through Infura as the web3 provider. We’ll set that up later in App.js to use Infura for the web3 connection.
const rootElement = document.getElementById('root')
ReactDOM.render(
  <SubspaceProvider web3={web3}>
    <App />
  </SubspaceProvider>,
  rootElement
);
In contracts/exchange_abi.json we have the ABI of Uniswap, which is a specification for the deployed Uniswap contract of every function that we have Subspace track. The ABI is specified in JSON, and we’ll use it for web3’s Contract object to interact with Uniswap throughout the dapp. Every deployed contract on Ethereum has an ABI, so you could add any existing contract to this frontend and track it’s transactions by knowing it’s ABI and the deployed contract’s address.
    {
        "name": "TokenPurchase",
        "inputs": [
            {
                "type": "address",
                "name": "buyer",
                "indexed": true
            },
            {
                "type": "uint256",
                "name": "eth_sold",
                "indexed": true
            },
  ... and a lot more
In App.js, we start by initializing the web3 object with our Infura connection. If you don’t have an API key, you can get one for free by signing up. Next, create a Contract object by combining the ABI and contract address of that ABI. This address is Uniswap’s contract that holds the Dai in its liquidity pool.
- Note, you can now go back to index.js to add this same Infura URL as the Web3 provider there.
const web3 = new Web3("wss://mainnet.infura.io/ws/v3/806ce35b64344f04a9a7e47379d9ca41");
const dai = new web3.eth.Contract(exchangeABI, '0x2a1530C4C41db0B0b2bB646CB5Eb1A67b7158667');
In this next part, we set up the React state variables that Subspace will use. The subspace object is created from useSubspace(), and we pass in the Contract object we just created. Then a couple definitions for helping work with values in wei coming from the transactions.
function App(props) {

    const subspace = useSubspace();
    const daiContract = subspace.contract(dai);

    const [txnObserver, setObservable] = useState();
    const [last5Observable, setlast5Observable] = useState();
    const [latestBlock, setBlock] = useState();
    const [last5, setLast5] = useState([]);

    //Trade details object for calculating exchange rate
    function TradeDetails(tokensSold, ethBought) {
        this.tokensSold = web3.utils.fromWei(tokensSold);
        this.ethBought = web3.utils.fromWei(ethBought);
        this.exchangeRate = this.tokensSold / this.ethBought;
    }
These next 3 code blocks are the Hooks that are the magic of the dapp and give us the real-time streaming we want. We’ll set it up so that we look at the last 50 mined blocks, and show the 5 most recent Eth->Dai trades that happen in those blocks, which will continuously update as more blocks are mined and trades happen.
useEffect(() => {
        web3.eth.getBlockNumber().then((block) => setBlock(block));
        if (typeof(latestBlock) != "number")
            return;

        const EthPurchased$ = daiContract.events.EthPurchase.track({
            fromBlock: latestBlock - 50
        });
        const last5$ = EthPurchased$.pipe($latest(5));
        setObservable(EthPurchased$);
        setlast5Observable(last5$)
    },[latestBlock])
The above useEffect() sets up the Hook that gets the last 5 EthPurchase events from the latest 50 Ethereum blocks. Importantly, the setObservable(EthPurchased$) is every trade event we are tracking, and we restrict it to five events shown in the frontend by using the pipe operator (imported from RxJS) and creating an Observable of those five.
Next, we have another useEffect() Hook that subscribes to all transactions fitting the requirements we defined above for EthPurchase, and just puts them in console.log
   useEffect(() => {
        if ((txnObserver === undefined) || (typeof latestBlock != "number")) {
            return;
        }
        txnObserver.subscribe((trade) => {
            console.log(trade);
        });

        return () => { txnObserver.unsubscribe(); }
    }, [txnObserver, latestBlock]);
From the last5Observable created in our first Hook, we get the transaction details of those here:
  useEffect(() => {
        if (last5Observable === undefined) {
            return;
        }
        last5Observable.subscribe((fiveTrades) => {
            const prices = fiveTrades.map(trade => {
                const txnDetails = new TradeDetails(trade.tokens_sold, trade.eth_bought);
                return {'block': trade.blockNumber, 'rate': txnDetails.exchangeRate}
            });
            setLast5(prices);
        });

        return () => { last5Observable.unsubscribe(); }
    }, [last5Observable]);
Lastly, we have some React UI code and than you can see the frontend! Here's a gif showing it. This was recently started, and there have been 3 trades so far. In the developer console, we can see the additional transaction details of each of those trades. As the trades we are watching stream in, the oldest will fall off the stack.
We hope this was a useful explanation of the Subspace library, which really makes frontend development for dapps simple and easy, especially when it uses Infura for web3 data! So clone this boilerplate repo here, use Subspace, and if you have any questions on this please discuss it with us here For more tutorials, visit the Tutorials section in our Community.